
I had the wood slices cut for me awhile back. I originally intended on using them for chalkboards, but they weren't going to work for that. So, they basically sat around for close to a year waiting to be used. Many craft stores sell slices of wood that are beautiful, so you could definitely grab one of those.
Because they were actually hand cut, I needed to start my sanding them down. If you do this yourself, I would HIGHLY recommend using an electric sander. However, I used a piece of sandpaper.. and eventually gave up.
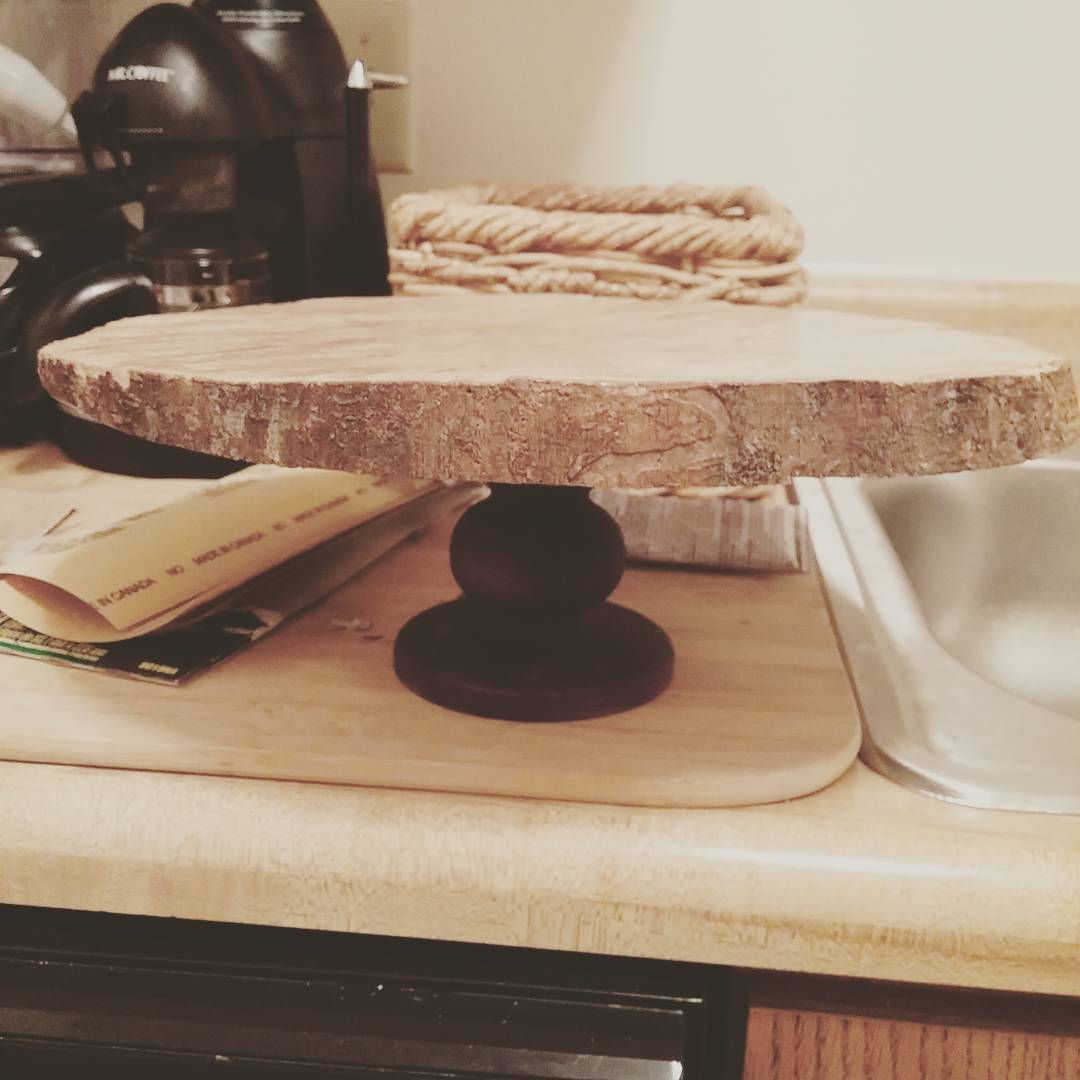
Then, I used a satin finish varnish to seal the top of the wood. I did not seal the bottom side, because I wanted to keep the rough surface. Plan on using multiple layers of varnish to give it a completely smooth finish. I'm not sure if the varnish is safe for food, so I would definitely recommend making sure you use a cardboard cake plate, and not setting the cake on the wood directly.
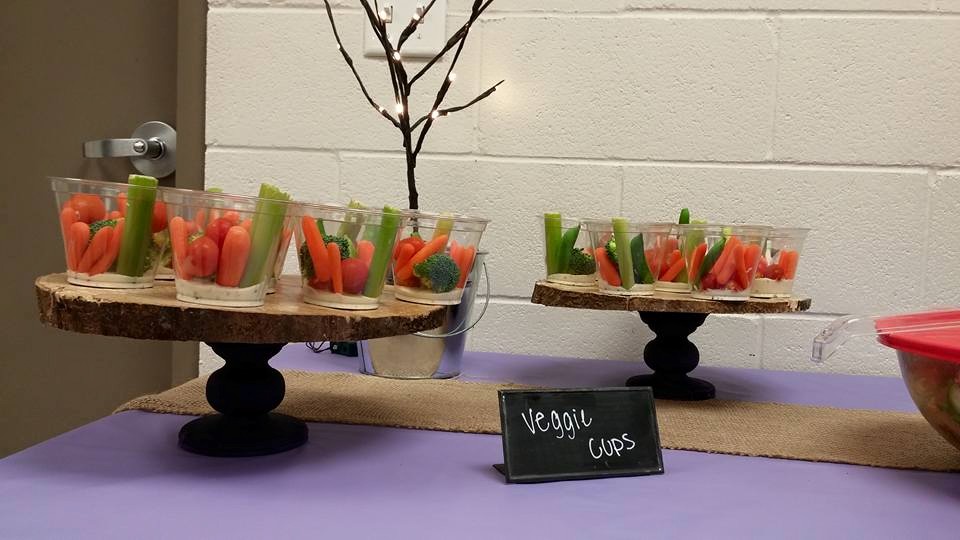
I found a wooden pedestal at a craft store for only about $5. I then painted it a dark purple to match the colors of the bridal shower. I have also seen these made with glass candlesticks, but I have never had much luck with gluing glass, and I wanted something I could reuse.
I then used an industrial strength adhesive made for wood to glue the pedestal to the bottom of the wood slice. I used E6000 Industrial Strength, and haven't had any issues. The glue recommends letting it sit for 72 hours before moving. I procrastinated and moved after about 12, but it had hardened enough at that point. However, I would recommend going the full 72 hours to be safe.
Super easy peasy project!! This is something that looks super unique but was extremely easy to put together. If you make your own, I would love for you to share your pictures!!
No comments:
Post a Comment